
today, i have a tutorial to share. i recently received an email from Cyntia who asked about my giraffe mani [that i posted back in March] and for a tutorial. its quite simple and i was definitely glad to make a tutorial. btw, when my computer died on me, i lost my video editing program so i'll only be doing picture tutorials for a while.. =/
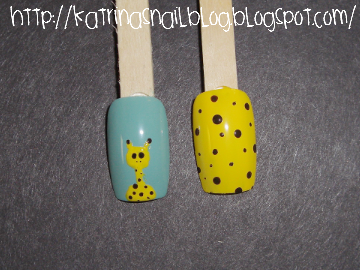
here's what we're aiming for..
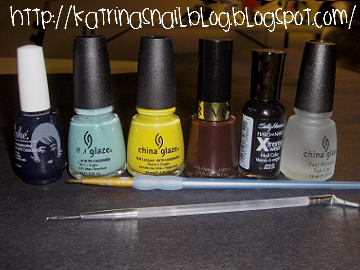
ask requested, here are a picture of the materials i used.
a regular paint brush, nail dotting tool, Poshe's basecoat, China Glaze's For Audrey & Happy Go Lucky, Revlon's Hot For Chocolate, Sally Hansen's Black Out, and China Glaze's topcoat.
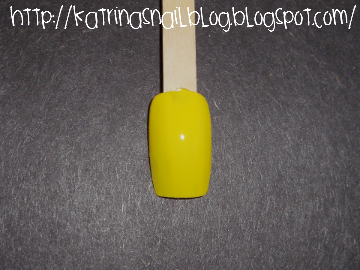
step 1: apply basecoat & base color.
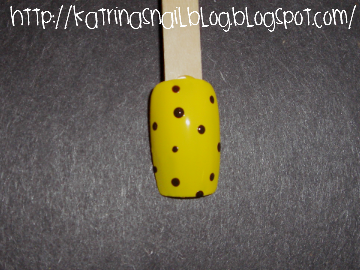
step 2: take your dotting tool + dip it into your brown polish and create dots.
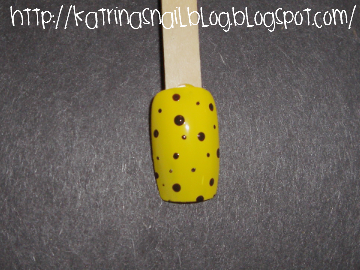
step 3: repeat step 2 but make smaller dots to fill in the empty spaces. make sure you dont do too many dots.
apply topcoat once the nail is dried & youre done with this part of the mani. onto the next part...
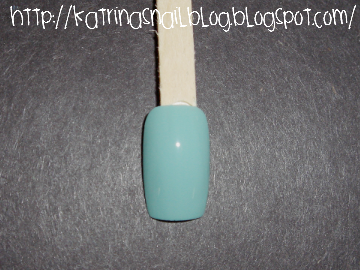
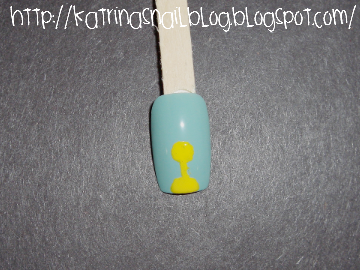
step 1: apply basecoat & base color.
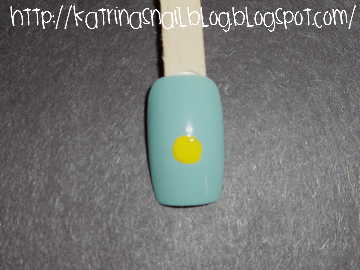
step 2: using the regular paint brush, create a small circle for the head of the giraffe.
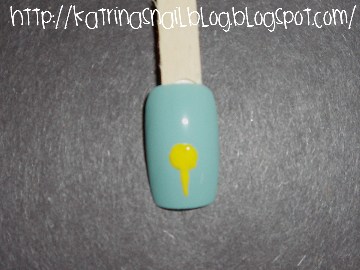
step 3: draw a line straight down for the neck.
step 4: to make the body of the giraffe, just make a half-circle at the bottom of the nail.
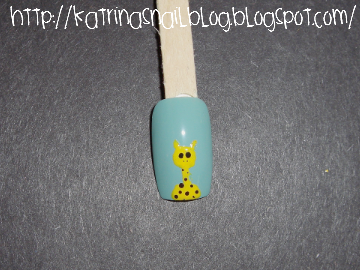
step 5: back to the dotting tool, use your black polish to make two eyes and two small dots for the nose. then use your brown polish to make the giraffe spots.
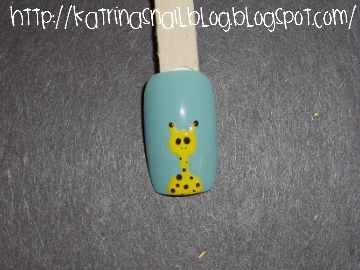
step 6: dont forget to dot the tips of the things on top of his head. [edit:] WHOOPS! i forgot to mention to draw two little lines at the sides of his head for the ears. please refer to this picture for the ears.
wait for the nail to dry and apply topcoat.
now you're done! and i apologize for the blurriness of some pictures..
i hope this helped! if you have a tutorial request, please feel free to send me an email :)
have a great weekend!,
<3KATRINA
that's the cutest mani ever!!! sweet! i like the colors you selected.
ReplyDeleteso adorable =) <3
ReplyDeleteAwwh, thats adorable ^^
ReplyDeleteI love the blue c:
Oh how cute! I really love both! I need to get dotting tool for doing dots, really looks lovely and cute!
ReplyDeleteAnd giraffe is adorable!
You make that look easy! Its a great tutorial.
ReplyDeleteAdorable! Plus a very clear tutorial, thnx!
ReplyDeleteOMG how cute!!! <3
ReplyDeleteThank you so much for this cute tutorial. I am definitely trying it :D
ReplyDeleteSo cute!
ReplyDeletehehe so CUTE!
ReplyDeleteah i love you kat:) you're one of the few nail art bloggers that don't need all these fancy stamps or tools to get really interesting & unique nails! so glad i stumbled onto your blog! x
ReplyDeleteThis is adorable!!! You made it look so easy :) I want to be doing it soon!
ReplyDeleteI just did it on my nails. x) It really turned out good, but I had to improvize with dots, because I don't have a dotting tool so I used a ballpoint. :D
ReplyDeleteI will show the result tommorow. :P
aw, thanks ladies!! <3
ReplyDeleteCel, Thifa, & Ivana, i would love to see your results once you've done it :D
ohmerde!, aw! thank you! the less fancy the tools & stamps, the better! =P
Adorable! Where do you get dotting tools from? And how do you clean the paint brush after you use it?
ReplyDeleteso cute and lovely!! :)
ReplyDeleteThis is absolutely adorable :3
ReplyDeleteaw, it`s looking so cute. Love it.xx
ReplyDeletehttp://provocativecouture.blogspot.com/
So cute!
ReplyDeleteYour giraffe is too cute!
ReplyDeletethis mani looks really cute, and you made it look really easy with this tutorial. <3
ReplyDeletethanks ladies :D
ReplyDeletealison, i just dip my paint brush into some acetone & then water.
gosh!!! how cute to put a giraffe image on nail! XDD!!
ReplyDeleteThis is sooo cute! This is really original!
ReplyDeletePixie D, thanks!
ReplyDeletethanks Lois :D